
Classroom organization and maintenance may be a daunting task for many teachers. Even those with the best of intentions at the beginning of the year find themselves in disarray after several weeks. First and foremost, know yourself. What kind of organizer are you? What’s comfortable? Because habits are hard to break, but it’s better to work with them instead of against them.
Organize with Purpose
Start by inventorying all of your current containers and organizers. Go through your curriculum and decide how to repurpose what you have and set the materials into categories. Using the “Backward Design Model”, identify the desired result you want your students to know or be able to do.
Box Containers or Drawers?
If you’re not one that likes to take the time to dig out the bottom container, pull off the lid, and then put everything back where it belongs, then you might want to try investing in plastic drawers. Drawers are easily accessible and stackable and come in a variety to sizes, colors, and styles to fit your needs. Whichever you prefer, you must label each box or drawer with the story or skills for that unit or just type up the pacing guide for a quick glance. Organizing your materials like this allows you to find what you need at your fingertips. Keep materials that students will use to enhance, demonstrate, and/or prove their understanding.
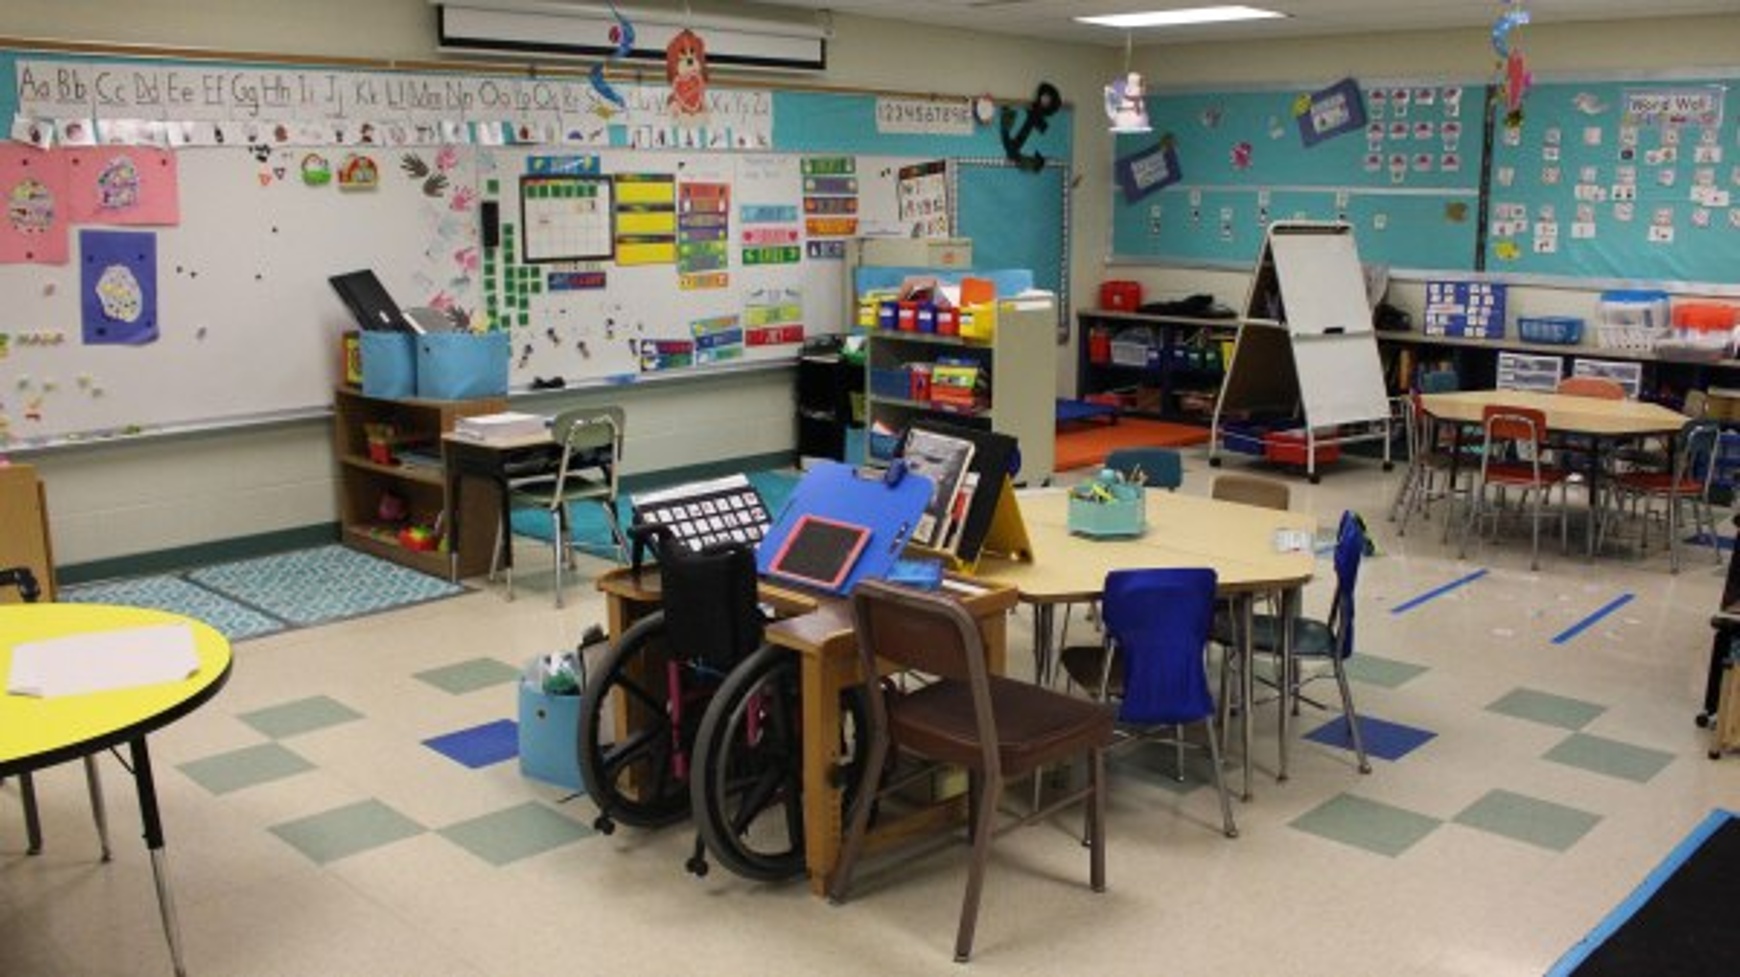
EVERYTHING has its place!
As stated, creating a space and labeling everything allows for ease and availability. Some questions to think about as you organize your classroom would be:
- Where do students turn in homework, notes from home, or lunch money?
- Where do you put copies before your lessons and the extra photocopies of work after the lesson?
- Where do you put your papers from the teacher’s mailbox?
- How do you sort out what to keep and what to throw out?
Keep in mind that students will be utilizing many of the materials you have in your classroom. Teach your students where to put homework, notes, money, and their personal items. The placement of communal materials, such as a class set of scissors, glue, or markers, may have to be adjusted throughout the year to meet your students’ needs.
Additionally, you may want to keep teacher’s materials out of students’ reach. One idea is to use a hanging 5-folder system for this. Label each folder as follows:
- Read and Sort
- Do Immediately
- S.A.P (Get done before the end of today)
- On Hand – References for later
- Needs to be Filed
It’s a great way to organize all those papers that get tossed into the teacher’s mailbox in the office.
Binders vs. File Cabinet vs. Digital
Find a system that works for you. If you like to have “hard copies” of your plans, then ideally, create a binder for each course you teach. Each binder should have lesson plans, lesson tools, resource notes, and printouts all in plastic sleeves in the order you would use them during the year. The clear plastic sleeves make it easy to find and pull out pages for photocopying. Next, use sticky notes during the lesson when you feel a modification was needed. This will remind you to go back and adjust the plan accordingly.
If you must have a file cabinet, then only put the most current units up front, moving older units/lessons to the bottom drawers. Treat it like a working cabinet, interchanging every unit.
And of course, keeping your papers digitally and organizing the folders on your desktop is another option. Some teachers like this option so they can upload and email their plans to administrators to view as needed.
Most teachers organize using a combination of all these methods. The goal is to be comfortable with your organization process and stick to it. Finally, when deciding what learning activities to keep, remember to ask yourself “which ones promote understanding, knowledge, skill, and student interest?”